Introduction
node-red is a neat framework to build quick visual “flows” for connected devices, and works great with the Raspberry Pi. Here are some instructions on getting set up to take advantage of the hardware features of the PiShield!
Setup
If you’re using our system image, everything is already included in the ~/dev/node-red folder. Simply launch it with the command node red.js and proceed to the next section!
On default Raspbian Jessie image, node-red should also be installed. You will also need to install the node package manager:
sudo apt-get install npm
Also, the mcp3008 library, which interfaces with the analog to digital chip on the PiShield, needs to be installed as well, which can be done via
npm install mcp3008 inside your node-red folder (~/.node-red if using a default install).
Creating the Flow!
Creating a flow for grabbing signals. Copy the following code and import it:
[{"id":"105ab4f7.3b1cdb","type":"mcp3008","z":"91ef3a56.67b168","name":"","device":"/dev/spidev0.0","mode":"0xF0","interval":"100","x":296.5,"y":127,"wires":[["df66836c.21bf9"]]},{"id":"bf945e79.d0c7f","type":"inject","z":"91ef3a56.67b168","name":"","topic":"","payload":"start","payloadType":"str","repeat":"","crontab":"","once":false,"x":142.5,"y":96,"wires":[["105ab4f7.3b1cdb"]]},{"id":"e7fa2a88.b05918","type":"inject","z":"91ef3a56.67b168","name":"","topic":"","payload":"stop","payloadType":"str","repeat":"","crontab":"","once":false,"x":144,"y":149,"wires":[["105ab4f7.3b1cdb"]]},{"id":"df66836c.21bf9","type":"debug","z":"91ef3a56.67b168","name":"","active":true,"console":"false","complete":"false","x":478.5,"y":128,"wires":[]}]
You should see the following nodes:

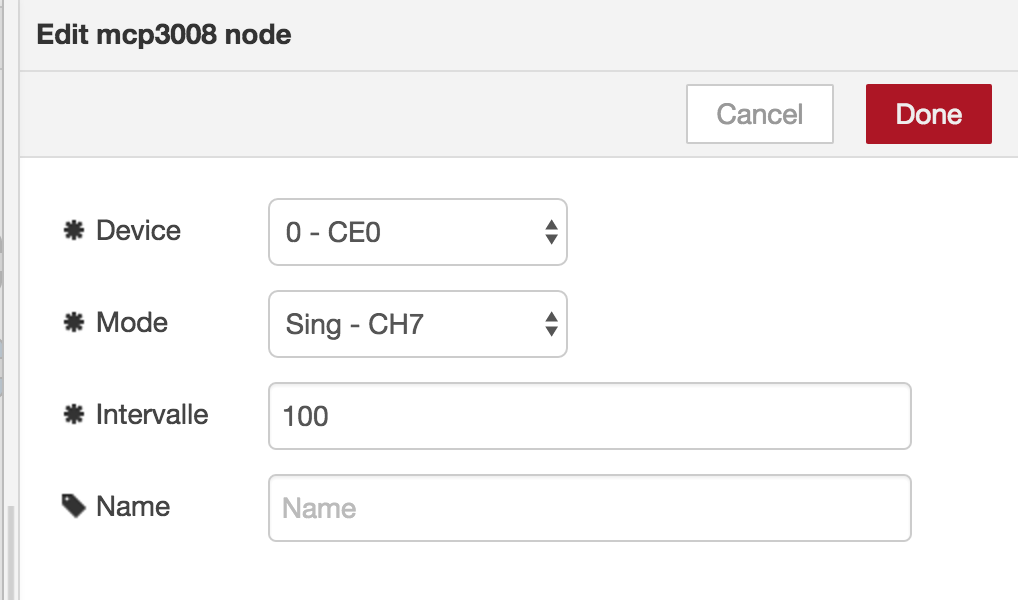
Clicking on the blue node in the centre will open up the configuration for the Analog to Digital converter. Select the channel you want to read, and then deploy!

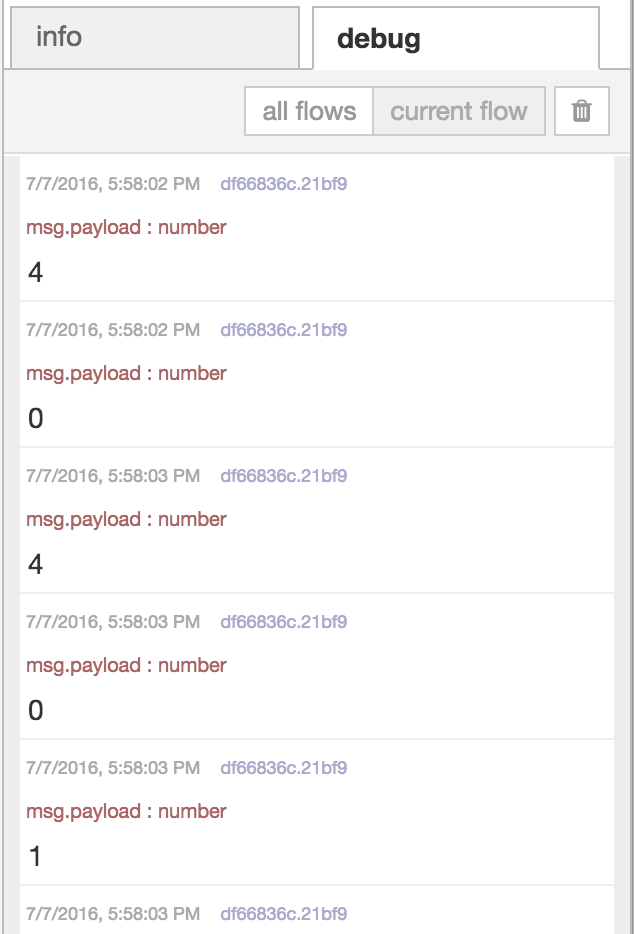
The data from the sensor should show up in the debug area!

More Examples
- node-red MIDI input
- node-red Hue Light Controller
- node-red i2c LCD
- node-red OSC