This repository contains all the scripts mentioned on this page.
Reading analog inputs
The first thing to try is to read analog inputs from the board. This can be done even without any sensors plugged in, as you’ll simply get slightly noisy values close to zero streaming in. This simple python script, titled “AnalogRead8.py” shows how its done:
- If setting up on your own image and not using the our development image, install the following prerequisites:
If you’re running a version of Raspbian older than Stretch, install the py-spidev library.
git clone git://github.com/doceme/py-spidev
cd py-spidev
sudo python setup.py install
Alternative install method:
sudo apt-get install python-spidev
2. Add the import modules required. Time is for the sleep function that controls the rate of our polling loop.
import spidev
import time
3. We set the number of channels to read, initialize the array for storage and open the spi device and then define the read function which performs the data transfer and packs the received two-byte data for each sensor channel. The spi.xfer function does the transmission and receiving of the data, and then the next line does the conversion.
NUM_CH = 8
adcValues = [0 for i in range(NUM_CH)]
spi = spidev.SpiDev()
spi.open(0,0)
spi.max_speed_hz = 1000000
def readADC(ch):
if ( (ch>NUM_CH-1) or (ch<0) ):
return -1
r= spi.xfer2([1,(8+ch)<<4,0])
val = ((r[1]&3)<<8) + r[2]
return val
4. Now we can write the main loop that makes use of the function above to read each sensor value using a for loop, and break a bit using the sleep command in between reads. Finally, a cleanup message if interrupted (ctrl+c) is emitted from the keyboard and the script ends.
while 1:
try:
time.sleep(0.1) #10 hz output
for ch in range(0,7):
adcValues[ch] = readADC(ch)
print "ADC Values = ", adcValues
except KeyboardInterrupt:
break
print "\n\ngoodbye."
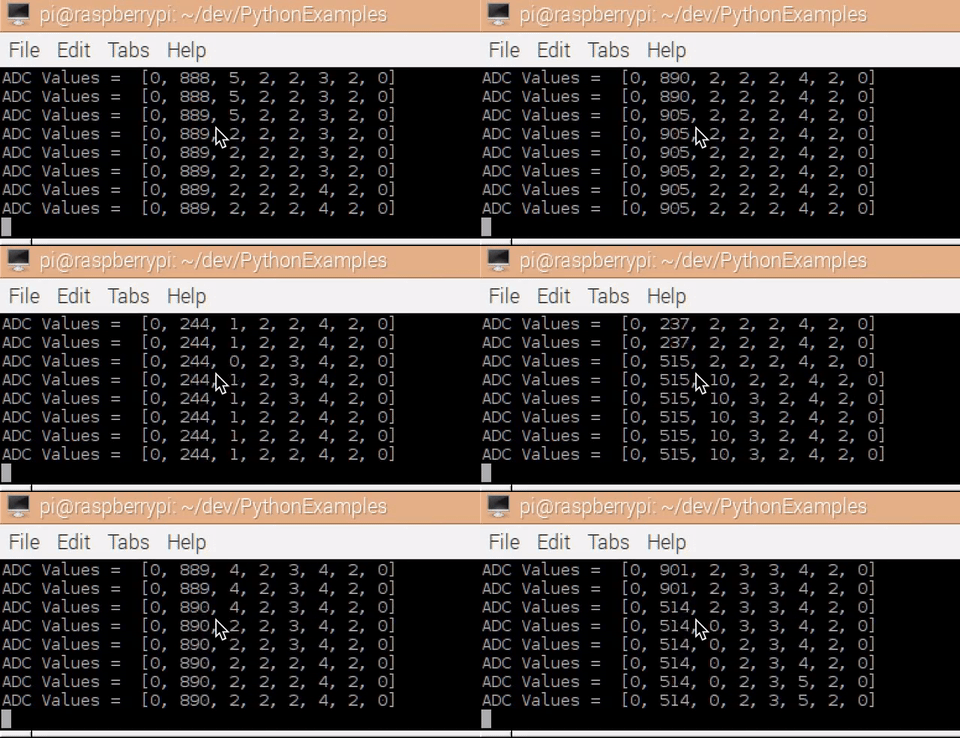
5. Finally, you can run the script by typing python AnalogRead8.py, and should see the following output. In this case the sensor on port 2 is detecting changes. You can also download the script from github.

Sending OSC
By importing the pyOSC library, we can easily add OSC sending functionality. To so, first clone the source code and install pyOSC using instructions from the repo (go into the folder and type sudo python setup.py install), and then
For testing, there is an included Max patch that receives the values, and does some simple visual mapping of the sensor data. Of course you can use an OSC receiver of your choice – just make sure you have the correct IP address or port set up in the code!
Turtle Example

Extending the basic example above, we can build something a bit more interactive with python. Using the Raspberry Pi desktop and the IDLE Python IDE, we can use sensors to control the “turtle”. In this example a Push2D joystick sensor connected to the 1st and 2nd analog inputs is used to move the “turtle” around the screen.
First, we simply have to import the correct module for the turtle, by adding
import turtle
to the top of the script, and then in the main loop for reading the analog values, append the following code:
if adcValues[1] < 200:

print "UP!"

turtle.forward(2)

if adcValues[1] > 700:

print "DOWN!"

turtle.backward(2)

if adcValues[0] < 200:

print "LEFT!"

turtle.setheading(turtle.heading()+2.5)

if adcValues[0] > 700:

print "RIGHT!"

turtle.setheading(turtle.heading()-2.5)
We perform basic compares to see if the joystick has been pushed beyond a certain point, and then issue the appropriate command to the turtle.
Note that based on the orientation of the joystick, the left/right is on the 1st channel [0], and up/down is on the 2nd [1]. Depending on how you hold the sensor, they could be different.